Friday, May 28, 2010

Tucked + Smock = Smucked shirt?

Wow, the whole month of May is almost gone. I realized when I logged in to start writing this post that there's a half-written one from two weeks ago when I wanted to write about having gone to some local fabric shops in Somerville and Cambridge... I will sum it up here: cheap and beautiful fabrics, one store well organized with cute quinceanera tiaras on display and the other like something out of Hoarders. Like, I was afraid that the fabric (crazy long pile neon pink tiger fur! shrek green sequins! beautiful white flocked cotton lawn! all piled to the ceiling!) was at any point going to topple and smother me. Luckily I was shopping with a friend, because I don't think the employees would ever have heard or found me in that barely lit shop.

Despite my criticism of the second shop, I bought this light weight teal poplin, and two other shirtings. I decided against making the jersey top that I was considering in this post because when I traced out the pattern I realized that it called for a facing in the neckline. I hate sewing facings into knit shirts, hate it, so that was an easy decision. I made the shirt with the tucked bib inset instead. It fits really well in the shoulders and is very loose from the bust down. It turns out that there were a few surprises.
It's got 4 tucks in the back, which with the gathers under the bib in front make this a pretty voluminous shirt. These tucks are each 5/8", which isn't clear from the pattern markings.

In this second picture you can see I pulled another Paul Smith button trick. I had only 4 white ball buttons and then used a clear ball button for the collar. You see the front band below the bib? This was the next surprise for me... it's supposed to be a hidden button placket. Well, I'm not about to make more buttonholes than I need to or hunt down more buttons than I have to. So I sewed the bands together with topstitching, the shirt's loose enough that you can pull it over your head so long as you unbutton most of the buttons on top.

And then, the biggest surprise which I'm not sure was operator error or a problem with the pattern draft. In the teal shirt, the bib didn't have enough seam allowance around the edge to set straight into the shirt front. You can see my wobbly seam at the corners. Somehow on my muslin, I'd managed to not only set it in straight with enough seam allowance but do a french seam! I think if I were to make another one of these shirts I would cut the bib with just a little extra around the edges to make sure that I can set it in straight, because it was really tricky to do this without getting the tucks caught in the seam.

edited to add: This is #124 from the March 2010 Burda issue.

Wednesday, May 5, 2010

Seamstress' remorse

If you're like me, sometimes you'll buy something and bring it home and realize it's not really want you wanted. It's known as buyer's remorse. Luckily you can bring it back to the store and exchange it for something more suitable or get your money back. Not so with sewing! How many times have you charged ahead with a project, cutting into a piece of awesome fabric to make a garment that doesn't fit quite right, doesn't drape the way you want to, or just doesn't look the way you thought it would based on the pattern photo? Enter in, seamstress' remorse! This has happened to me so many times that I get a little gunshy about cutting into my fabric. I hate making muslins, but I've learned that this is the only way not to feel that pit in my stomach over having used a lovely piece of fabric for something that is only so-so.

Of course, I could argue that there are many other reasons why I sew; I enjoy the creative process, it is instantly rewarding in ways that my day-to-day job is not, I now have a wardrobe of clothes that fit me unlike what I can buy in a store. My sewing regret has more to do with the opportunity cost of having used a piece of fantastic fabric for something less than desirable. It's rarely about the lost time in the process (I've recently learned that if there is something I don't really want to sew, I should just buy it... Dear Reader, I bought a suit after much mulling over what kind of suit to sew and realizing that I'd rather just sew cute casual clothing) but the thought that I could have used that lovely fabric to make this other awesome thing.

Why this deep and digging post today? I traced off two patterns from the March 2010 Burda issue. The first is 118b, a loose fitting top that is made up in a jersey. I am a little leery of this pattern because it looks completely different on the model than it does in the garment photo. See?
Interesting draping going on with the model...
Kind of blah unworn.

I am thinking to make this up in a light and drapey DVFesque print. Here is DVF's Asher Tiger dress, my fabric has similar print but is cotton weave instead of silk jersey.
I've traced out the pattern, made petite adjustments, and now have cold feet. Does this happen to you too? A little hesitancy when it comes to project commitment, no matter how small?

In other news, the other top I've traced out is 124, which I plan to make from a poly sheer that's been in my stash for a few years. I think it will be the perfect summer top for work.

Friday, April 30, 2010

I have a type: lots of ties and twists

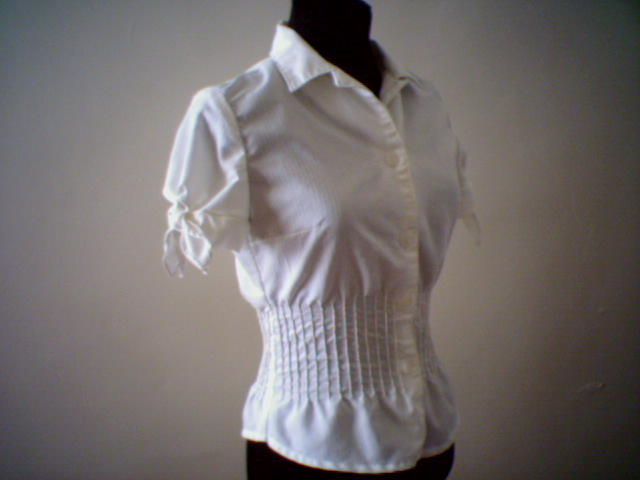
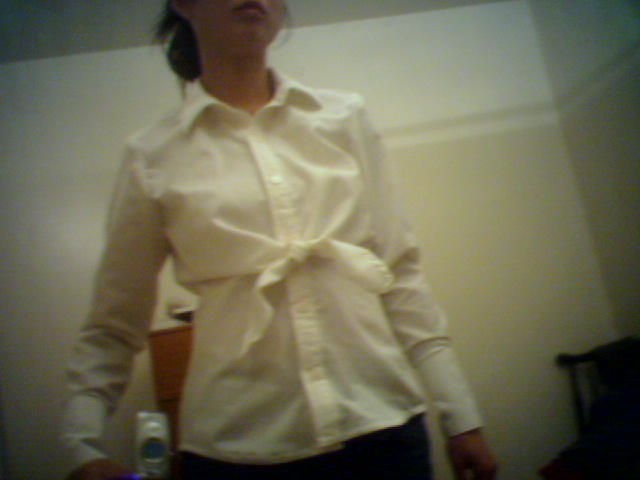
Let's take a trip back in time, to a time before there was this blog. Say, back to 2004. It was a time when I took photos with my camera phone (you can see me holding it in the second photo), and a time to make both of these shirts.
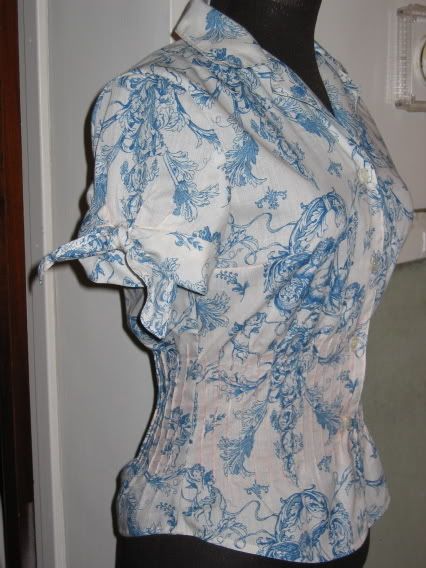
In 2006, that first top disappeared and I replaced it (that's the nice thing about being able to sew) with this toile version that I still wear regularly.
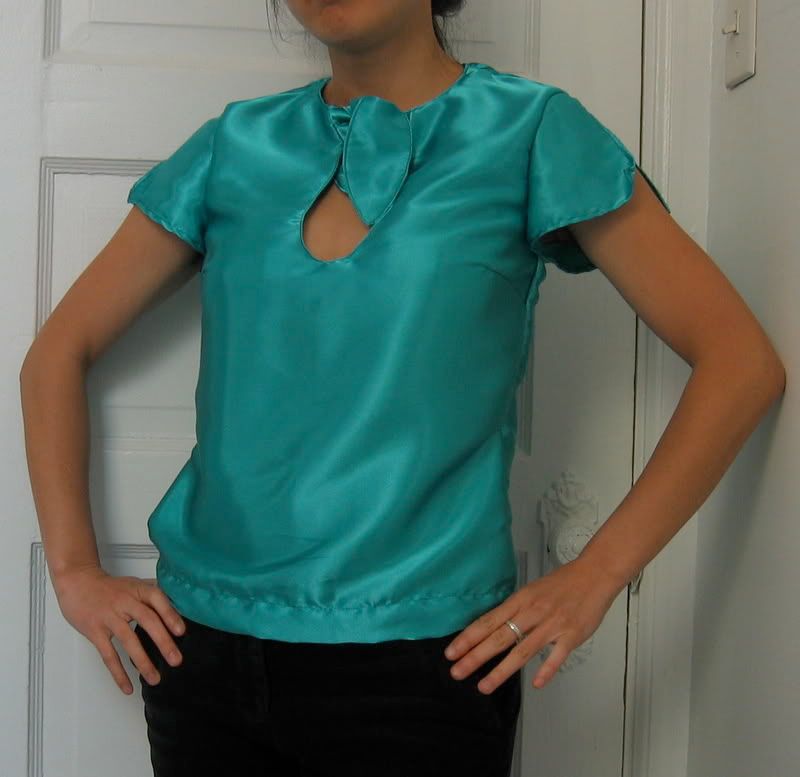
Two years ago, I experimented with a little color, and there was this.
I would continue, but you get the idea. This isn't post wasn't meant to turn into a retrospective of my personal style...

And today, there's this, made from the Vogue Rachel Comey top and skirt pattern (1170) that I posted about here. You'll see it fits my type very well. I like it untucked, but I think that there's a reason why the model is wearing it tucked in. It bulges in weird places when it's not tucked in... Luckily, it's not misbehaving in my photos. It's made from a light cotton voile with a vintage-y print that I'm pretty sure I bought to make a similar top -- and has since been sitting in my stash for years.
I followed the directions to a T, even though my intuition told me I could make the narrow hems just as well with a narrow zig zag and trimming the fabric. I do like the narrow hems, they really make the vintage inspired look, which you can see on the sleeve tie.
I probably could have gone a size down, but figured with such light and flowy fabric it would be OK to try this in a size 10 to see how it would fit. I think this will be great in the summer when it's super hot and sticky. It is very loose, and this knot shifts around a bit but I think it wouldn't be a problem if I were more inclined to tuck in my shirt (and make my mother proud!)

Tuesday, April 27, 2010

Open letter to Vogue Patterns

Dear Vogue Patterns,

Can you ask Tracy Reese to share the pattern for the Delaney dress from her frock! line? I would make mine in cotton pique, possibly with contrast color for the straps on shoulders and back.

Thanks,
Melissa

p.s. Here are some photos to jog your memory.

Monday, April 26, 2010

A raincoat

Two firsts: a Patrones pattern, and sewing with rainwear. I'd tried sewing rubber backed microfiber last year to make a raincoat and it was a disaster. This stuff is a poly woven raincoating from Gorgeous Fabrics, and it was easy to press and sew. So much so that I'm thinking of making another raincoat, in a traditional trenchcoat style. If I do that, I'll be sure to leave seam allowances on my pattern pieces. It was really hard to keep from pinning outside the seam allowances since there aren't any on the Patrones patterns, and I didn't want to pierce my fabric (kind of defeats the purpose of having waterproof fabric to make holes in it!)

Patrones doesn't have a website, but here is a photo of the design.
I made a muslin, and decided agains the gathered sleeves. The cuff turned out to be tighter than depicted, more like a shirt cuff than a jacket cuff. (I also briefly had it in my head that this could be a second coat if I underlined it, but I think it's a bit loud for my tastes.)
The thing that I love about this pattern, and that I think I'll love about all the other patterns in the magazine are that I didn't have to make any alterations at all! Normally, I have to take shoulders in, shorten the bustline, narrow the ease in the upper arm, shorten the sleeve, shorten the waistline, bring up the hem a few inches... but the proportions were perfect straight off the tracing sheet. I was really surprised, and then learned that Patrones Joven is designed with teenagers in mind. Now, don't you all go running out and buy all the Patrones Joven! I get dibs!

That said, I don't think I'd recommend this magazine to absolute beginners unless you are fluent in Spanish and have a lot of patience to ease the curved pattern pieces together. I used Google Translate to translate the instructions and while the tool was really cool (it was fixing its grammar as I typed!) there definitely was a lot lost in translation. Regarding the ease, I had to really adjust the sleeve cap and carefully clip the neckline and collar pieces to make them fit. That said, I love how the sleeves and shoulders fit me. I am so in love with the sleeves that I now want to make more coats from this issue, and hate all the coats I've made with patterns from other companies.

Because I wasn't crazy about the sleeves, I switched out the sleeves with another coat in the issue for simple straight sleeves. I like the stand-up collar, but will likely wear it open, as in the right photo.

The lining is also from Gorgeous Fabrics.

Here are some detail photos. The magazine would have you do a lot of decorative hand top stitching, but that's not really my bag. I actually wanted the coat to be as minimalist as possible, so did very little topstitching, all close to the edges with the purpose of reinforcing seams or holding the facing in place. I used the machine to bartack the epaulettes, though I suppose I could have hand tacked them for a cleaner look.

And finally, my little secret... I ran out of the buttons that I was using, and so am using a different button on the collar. I've seen this on some of Lee's Paul Smith jackets, and I figure that if Paul Smith can do this and make it look fresh and fun, I can do the same.

Tuesday, April 6, 2010

Sewing per body type

You know how they always say that everyone wants what they don't have? For example, if you have bone straight hair, you wish for ringlet curls or if you have curly hair you blow out your hair so it's straight?

It's not that I wish I were tall, but I do wish I could wear some things that you definitely need more bread to spread on. When I saw this design in the June 2009 Burda issue, I wanted to make it up so badly. It looks so sleek and elegant and I have the perfect washed silk in my stash for it.
But I won't make it. Because as you can see in this photo, there is A LOT of fabric in those batwing sleeves.
I would be swimming in fabric. I have little twiggy arms that would be lost in there. As I learned from making this blousy and flowy sleeved top, I feel lost when I'm wearing a lot of fabric on my arms, no matter how elegant the design promises to be. (I have intentions of refashioning that top into something else, as I've only worn it once...)

How about you? Are there cuts and designs that you avoid but wish you could pull off?

Sunday, April 4, 2010

That was some good advice.

Thanks for all the comments on my last post. I decided to hem the jeans and finish the waistband with a shank jeans button. I always have trouble getting the shank and the base to stay together while I hammer at it. My hack trick is to put the shank in the base and then step on it (of course, while wearing hard soled shoes), which gets the two pieces to stick just well enough so that I can hammer it.
Here are some photos of the finished deal. These jeans are so comfortable. I'm glad that I didn't get rid of them.
As I mentioned, I wanted a pair of jeans so badly that I didn't plan ahead. Luckily I had denim and a jeans zipper in my stash, but I didn't have enough of any one color of topstitching thread. I had beige, brown, rust, and white left over from past jeans projects... I used the beige and brown on the patch pockets and fly, the rust (which ended up looking red against this denim) on the waistband and inseams... and then ran out so stitched two lines of normal weight red thread to finish the topstitching. I think that throwing the white topstitching thread would have been too much going on.

Here's a closeup. You can see the different colors on the yokes, pockets, and waistband. I always stitch the pocketbag to the back of the leg with topstitching.

I used leftover seersucker from the sundress I made in January for the waistband and pockets. I like using a lighter weight fabric to line jeans waistbands. It's more comfortable to wear and the turn of cloth is easier to stitch. Win win, I think. I also always stitch twill tape at the waistband seam to keep the waistband from stretching from wear.

Here are the inseams and hems. Unlike the red pants, these didn't turn out skin tight (which is a good thing, I think) -- maybe it's the change in fabric, and I'm pretty happy to have a slim fit jeans pattern in my stash now!